
Before proceeding, please ensure that your Streamline3 Admin has approved the Gmail app for your company and that you have updated the app through Google Play on your device
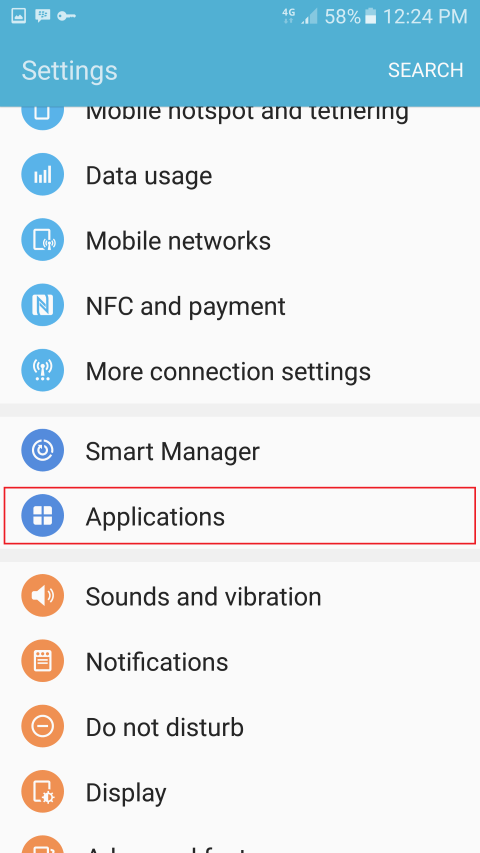
- Swipe down from the top of the screen and tap the settings button

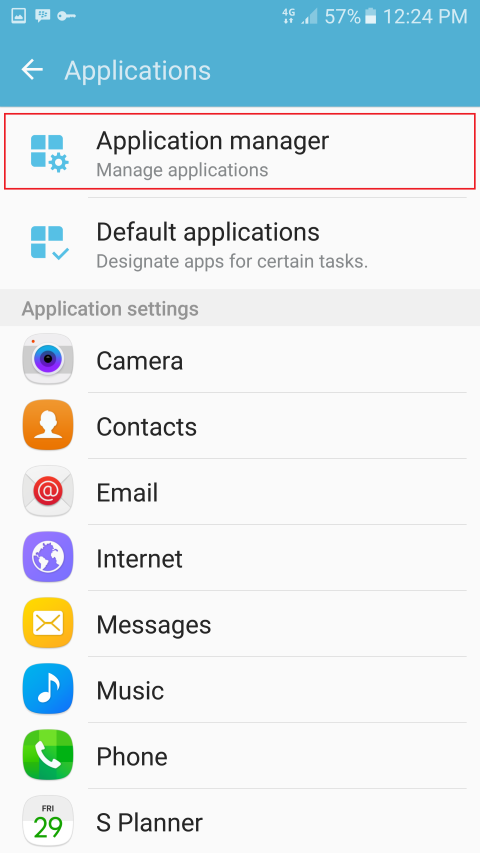
- Scroll down and tap Applications, then Application Manager
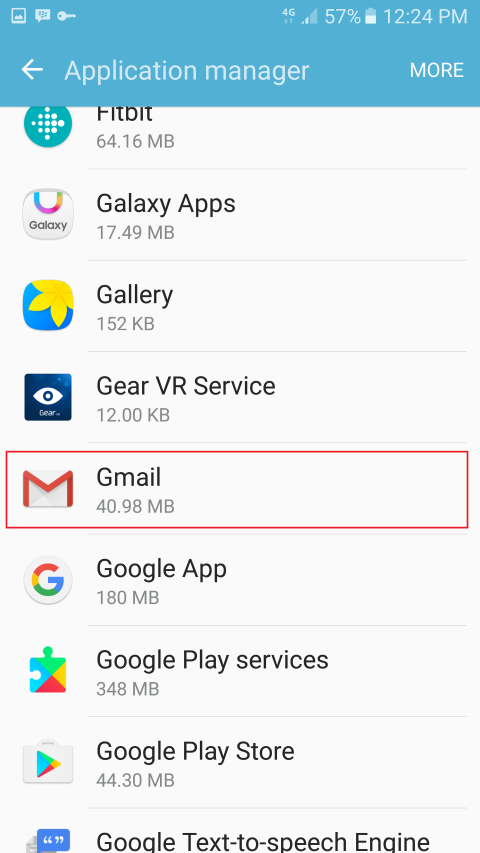
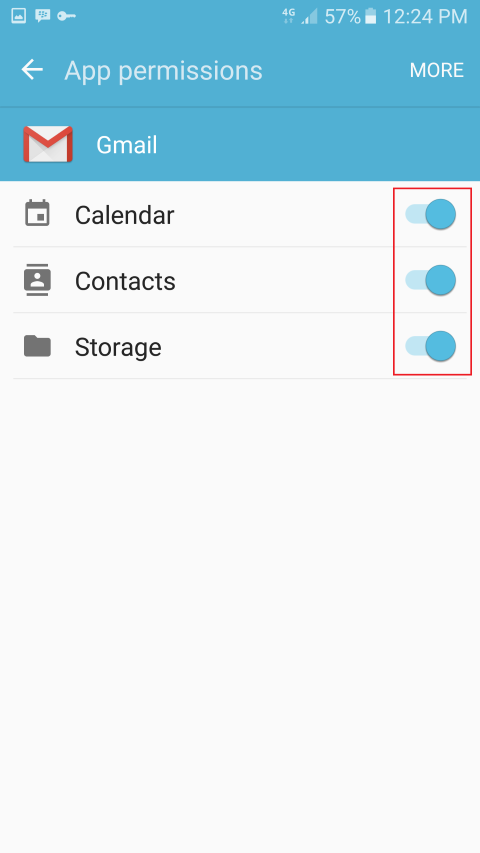
- Scroll down and tap Gmail, in the next screen, tap Permissions
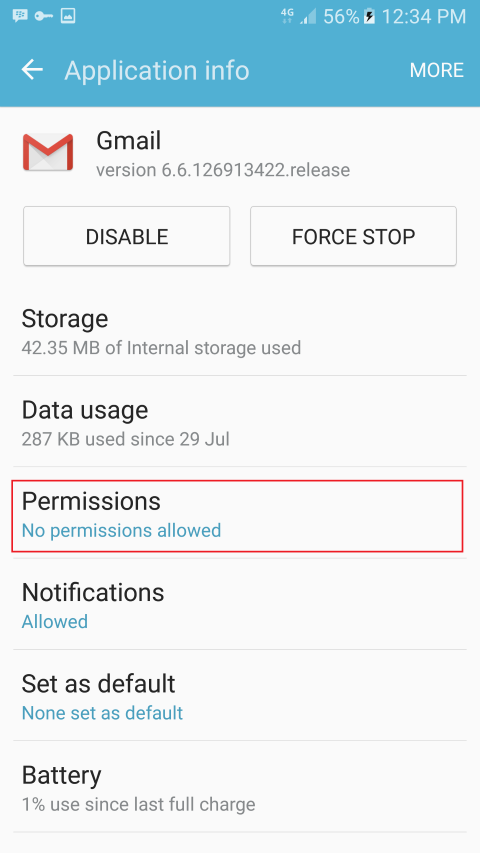
- Ensure the option switch for Calendar, Contacts and Storage are all switched on, then go back to the Settings screen
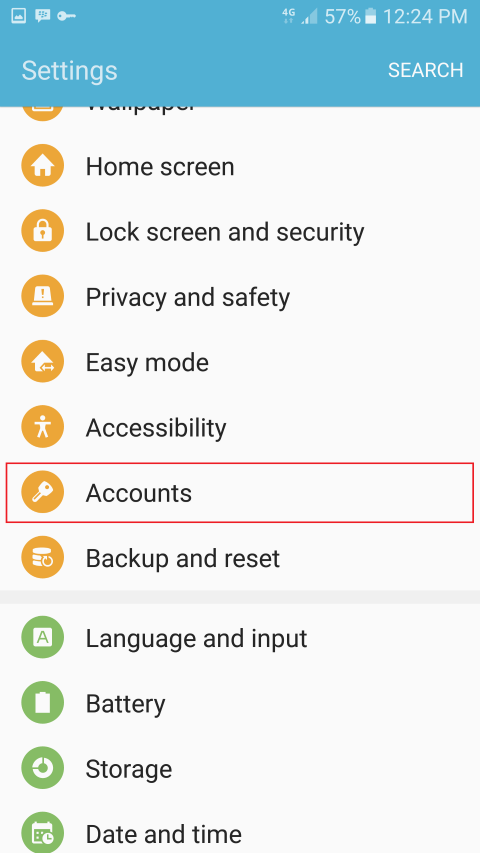
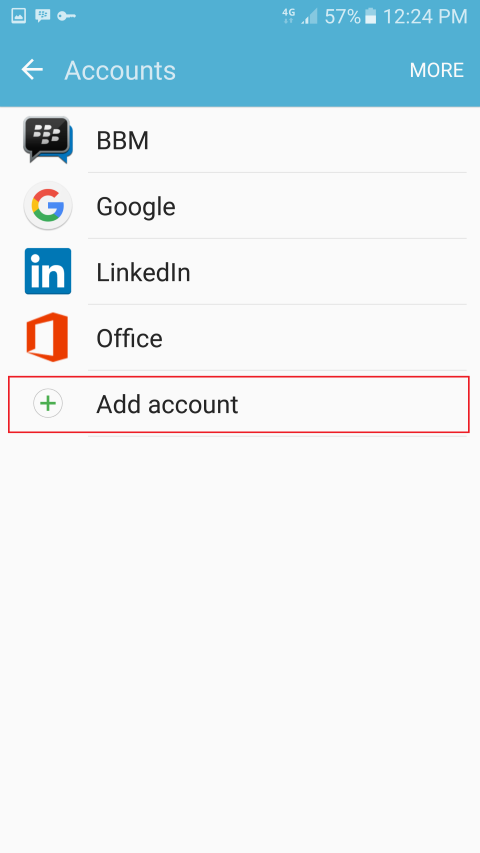
- Scroll down and tap Accounts, then Add Account.
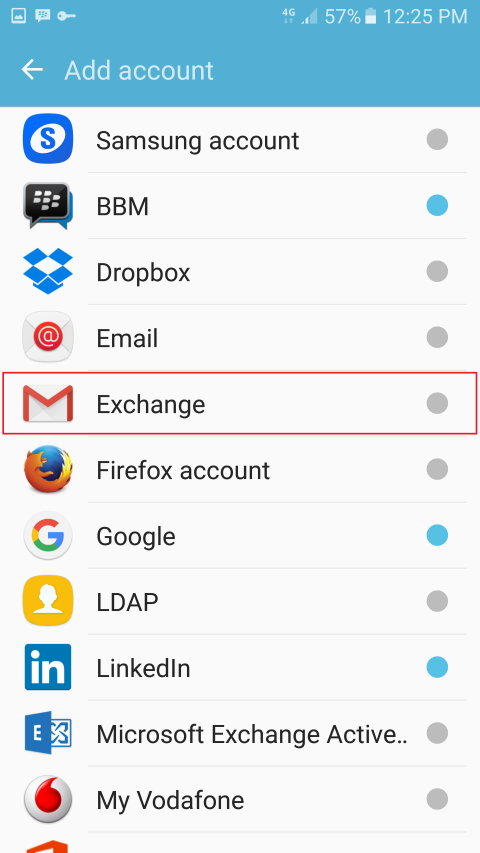
- Tap Exchange (the one with the Gmail icon)
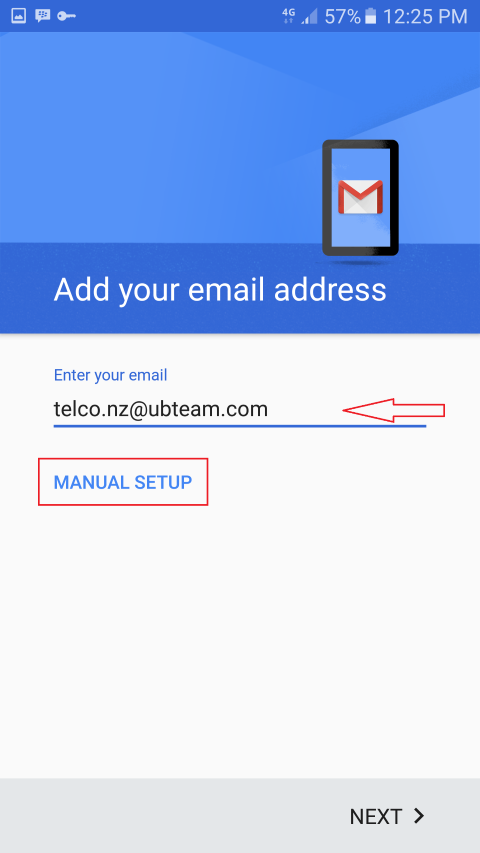
- Enter your Email Address, then tap Manual Setup, in the next screen choose Exchange and tap Next

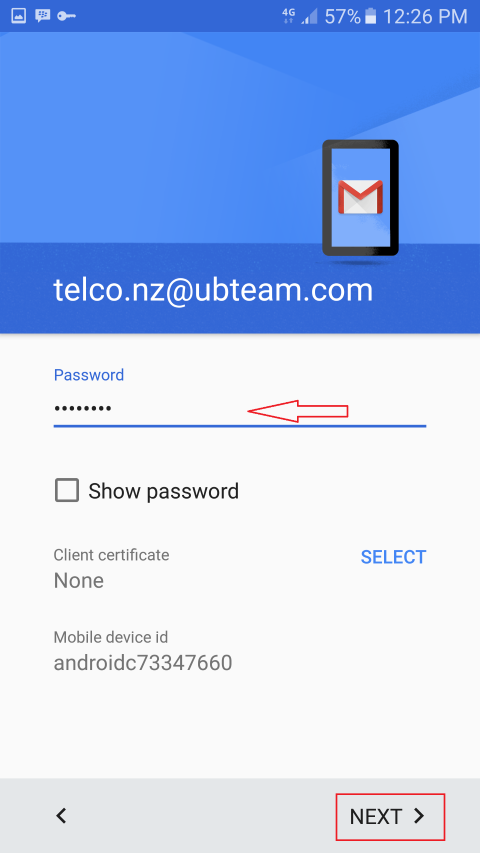
- Enter your Email Password, then tap Next
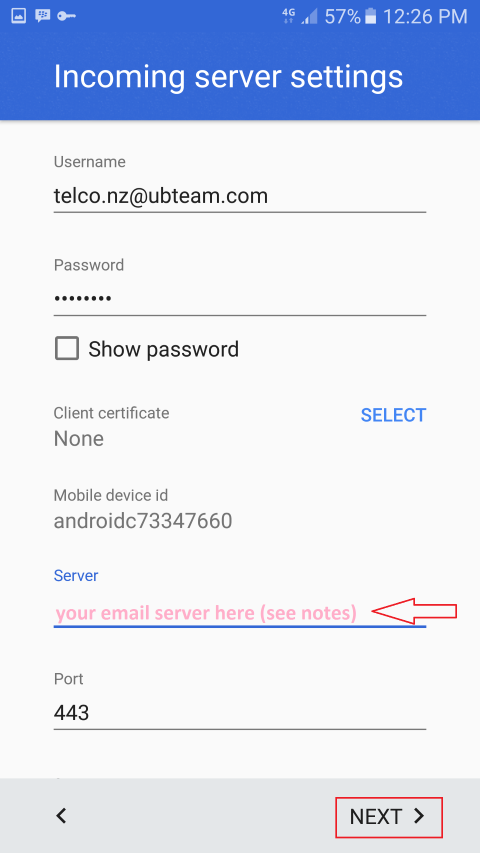
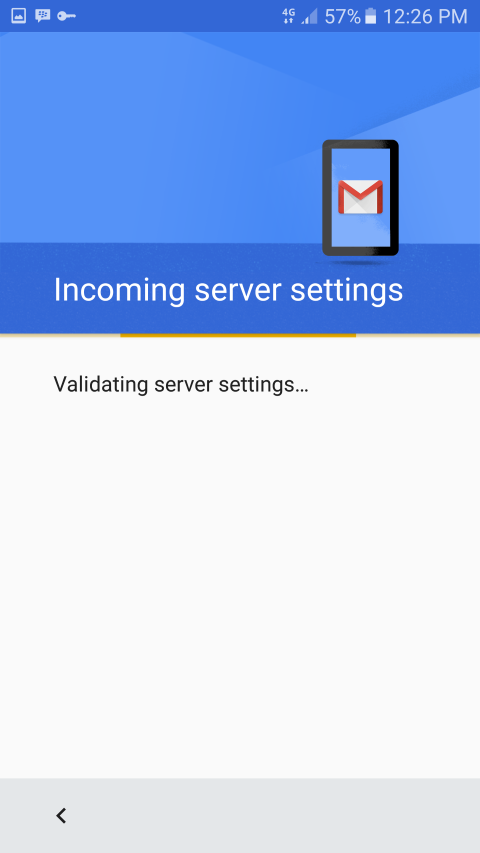
- Enter the correct Server address (see notes at the end of this article), then tap Next. Your phone will now Validate Settings.
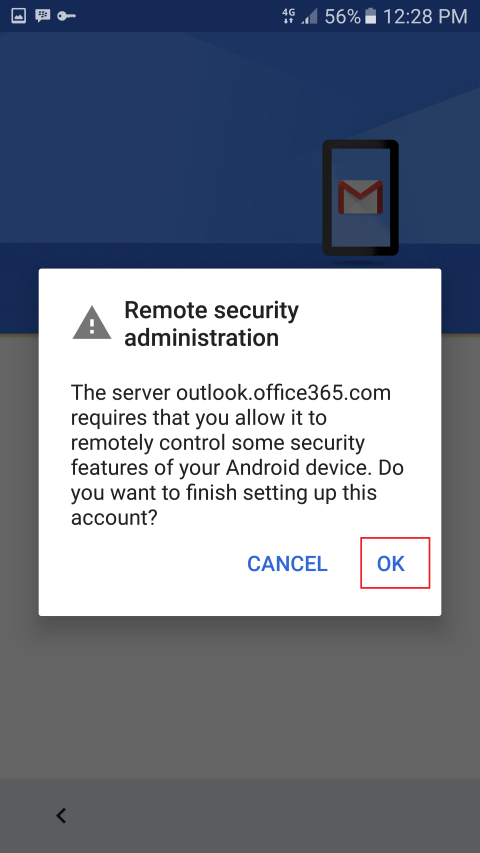
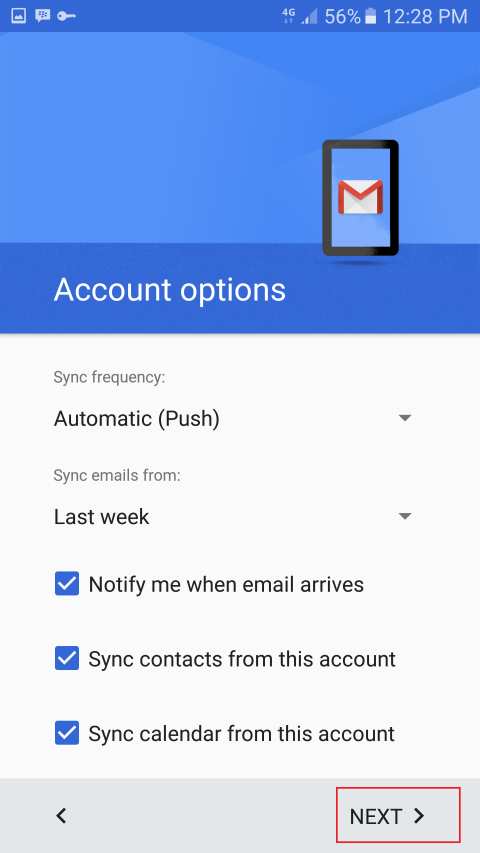
- On the Remote Security Administration popup, tap OK, then on the next screen, set your desired sync settings and tap Next
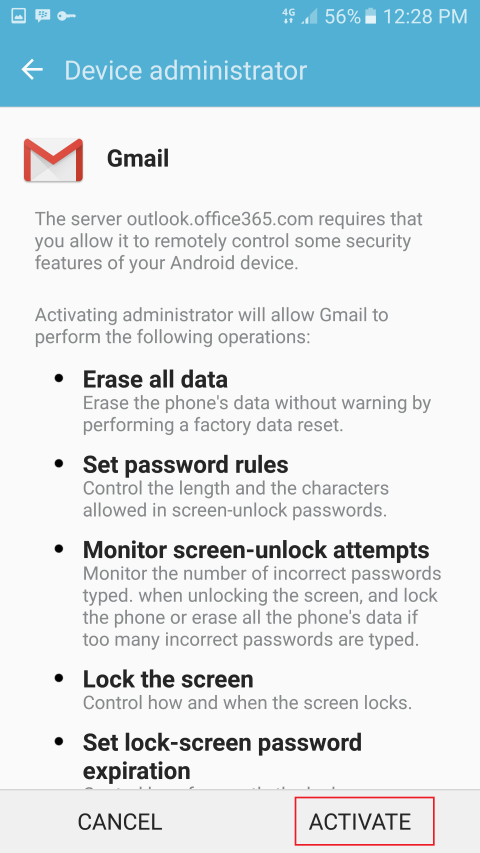
- On the Device Administrator screen, tap Activate, then set your Account Name and tap Next
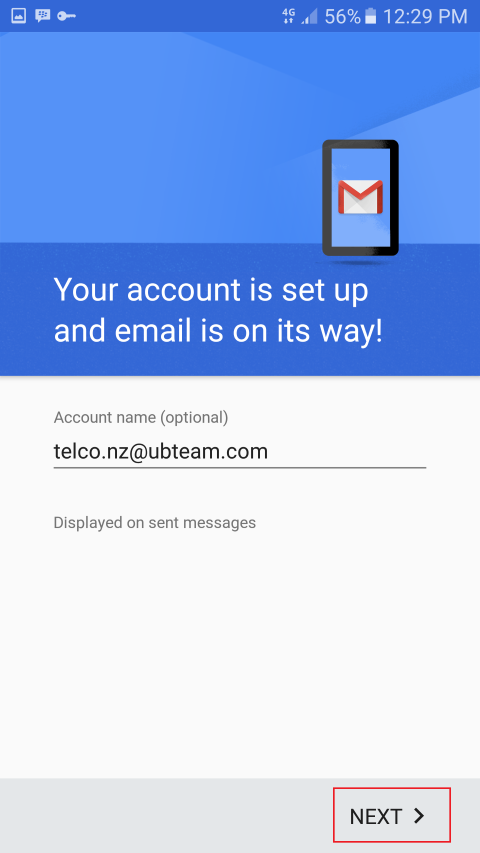
- Your email will now sync to your device and will shortly be available from the Gmail app, Contacts in the Contacts and Phone apps and Calendar will be in S Planner
Server Addresses
Different email servers have different server addresses, please see below for some common ones.
Note that your company may have their own server, if this is the case, please obtain the sorrect Server Address and Email Username from your admin.
Server Address
| Service | Server Address | Username Format |
| Your Hosted Exchange | mail.yourhostedexchange.com | your email address |
| Office 365/Outlook | outlook.office365.com | your email address |
| WSME Exchange | exchange.securecom.co.nz | obtained from WSME / your admin |
Comments
0 comments
Article is closed for comments.